Monday, August 25, 2014

Mixed Media Video Tutorial

Seems like just a few days ago the month of August started, and the Lindy's Stamp Gang Color Challenge was revealed, yet it's just a few more days until times run out for that particular challenge! As an inspiration piece for it, I created a mixed media layout, and today, I'm sharing with you the step by video tutorial of how I made it. A lot of people seem to like these types of start to finish videos, and I hope you enjoy it below.
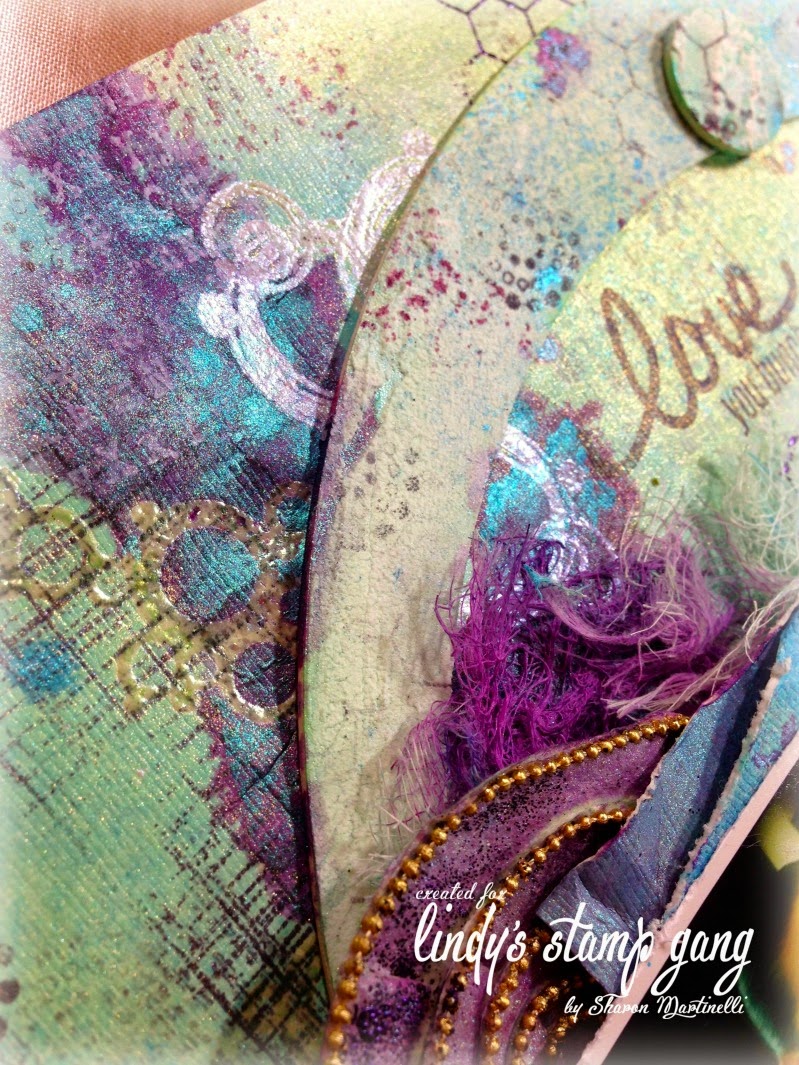
I used a variety of products and the finished project is quite detailed, so here is a list for you of what I used for your convenience:
- Technique Tuesday's Technique Tiles in Fundamental Rings
- Crackle Paste by Golden
- Stamper's Anonymous Stamps: Mixed Media CMS125, School Desk CMS057
- Inkadinkado Stamp Set "Circle and Dots 97631"
- Lindy's Stamp Gang's Aug. 2014 Spray Set
- Lindy's Stamp Gang Embossing Powder in Reindeer Moss Green
- Lindy's Stamp Gang Embossing Powder in Silver Moon Saphire
- Lindy's Stamp Gang Embossing Powder in Midnight Violet
- Donna Salazar's Mixed Media Ink in the color Jazmine
- Jilibean Soup " Handwritten Sentiments" stamp set
- Cheese cloth

Here are some close up shots from my project:


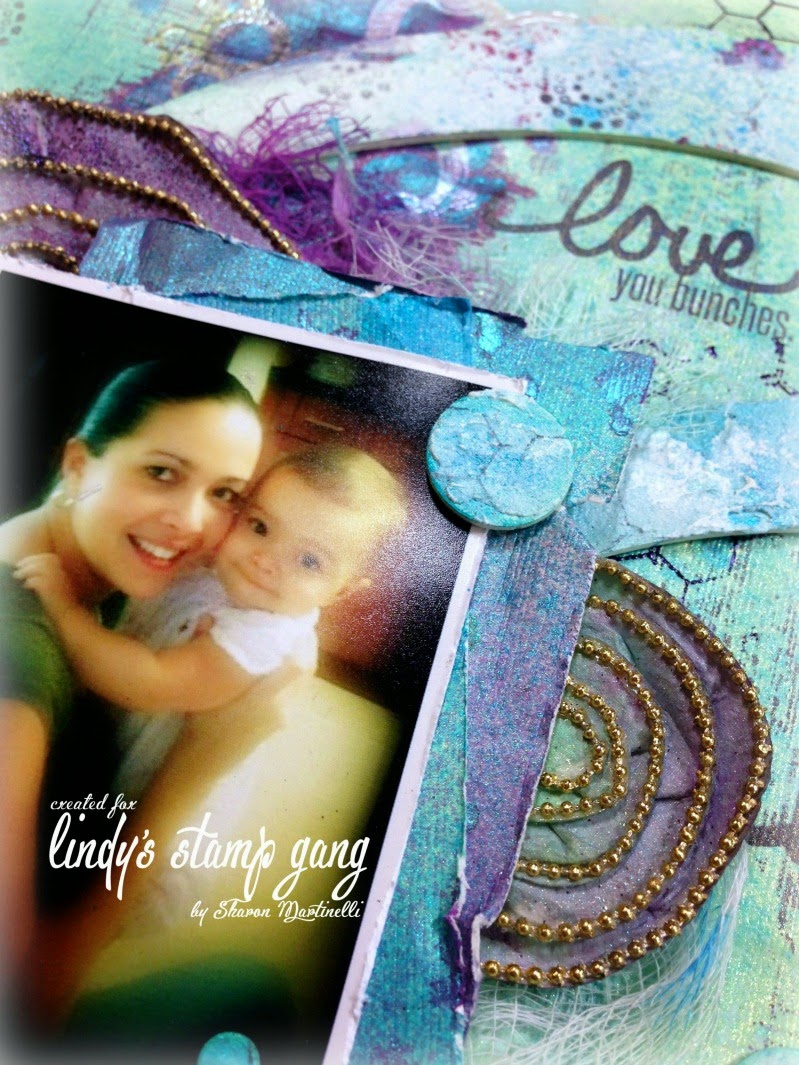
And here is a picture of the entire layout. Please find the step by step video tutorial below as well. Hope you enjoy it, and are inspired to join in the challenge this month, for a chance to win $50 gift certificate to the Lindy's Stamp Gang online store. You can enter by clicking HERE.


Thursday, August 14, 2014

Keeping it Simple: A Birthday Card

Hi there!
It's been quite a while since I shared a project for my Super Simple Series, so today I'm sharing with you a birthday card I made, which would be super easy to mass produce because of it's simplicity.
I used I Am Roses Flowers for a decorative touch and I think it turned out pretty cute, don't ya think?
You can make your card any shape you want, but in this case, mine is a present. Just right for a birthday card, right? If you have a die cutting machine (manual or electric) you have tons of choices on which shapes to use. You can even try and cut some free-hand yourself (remember when you made heart shaped cards in school?) Shape cards are really fun, specially when you are able to fit them right onto a regular sized envelope. This particular one was a die cut by American Crafts which I thought was so adorable, and I could replicate easily in any size that I want.
From the card picture itself you can't see an unconventional way I used just part of an I Am Roses product, but I did. You'd have to watch the video HERE to figure out what that is!
Here's what I used:
- TU1- 00 Mixed Pink Tulips Paper Craft Flowers (hint: this is what I used differently on this card)

Friday, August 1, 2014

Altered Round Box and Video Tutorial

It's August everyone! Can you believe it! Unreal how the summer has flown by! Today I wanted to share with you a metal round box I altered for a friend, as part of the I Am Rose's August Challenge.
This month's challenge is to make something for a friend, and altering this small box was the perfect thing using a variety of I Am Roses Flowers.
         
As you can see below, I did not alter the inside of the container, but you sure could if you wanted to. It's perfect to hold a little gift, a piece of jewelry, or some candy or any other small treat. The variety of flowers and colors look great with the paper collection I used.


Here is all that I used to make it:
- Metal round box (from my stash, but you can find them at Michaels, Joann's or Hobby Lobby).
- Kaiser Craft Hummingbird paper Collection (also used Sticker and die cuts from the collection.
- Mint Green Puffy Semi Rosebud from iamroses.com 
- Mixed Rainbow Pastel Lily Paper Flowers from iamroses.com
- Mixed Lily paper Flowers from iamsroses.com
- Tulips in varied pinks from iamroses.com
- White Fern Leaves from iamroses.com
- White Rosebud from iamroses.com 

You can watch a quick tutorial below. Thanks for stopping by!

Related Posts Plugin for WordPress, Blogger...